
Контроллер заряда солнечной батареи 40A 240 в MPPT | Обустройство дома
42 272,46 руб.

Новое поступление
Характеристики
*Текущая стоимость 8 899,90 - 14 704,19 уже могла изменится. Что бы узнать актуальную цену и проверить наличие товара, нажмите "Добавить в корзину"
| Месяц | Минимальная цена | Макс. стоимость | Цена |
|---|---|---|---|
| Feb-18-2026 | 11302.82 руб. | 11528.9 руб. | 11415 руб. |
| Jan-18-2026 | 9166.10 руб. | 9349.73 руб. | 9257.5 руб. |
| Dec-18-2025 | 11124.84 руб. | 11346.78 руб. | 11235 руб. |
| Nov-18-2025 | 11035.32 руб. | 11256.84 руб. | 11145.5 руб. |
| Oct-18-2025 | 8810.93 руб. | 8986.61 руб. | 8898 руб. |
| Sep-18-2025 | 10857.65 руб. | 11074.28 руб. | 10965.5 руб. |
| Aug-18-2025 | 10768.81 руб. | 10983.84 руб. | 10875.5 руб. |
| Jul-18-2025 | 10679.30 руб. | 10893.60 руб. | 10786 руб. |
Описание товара


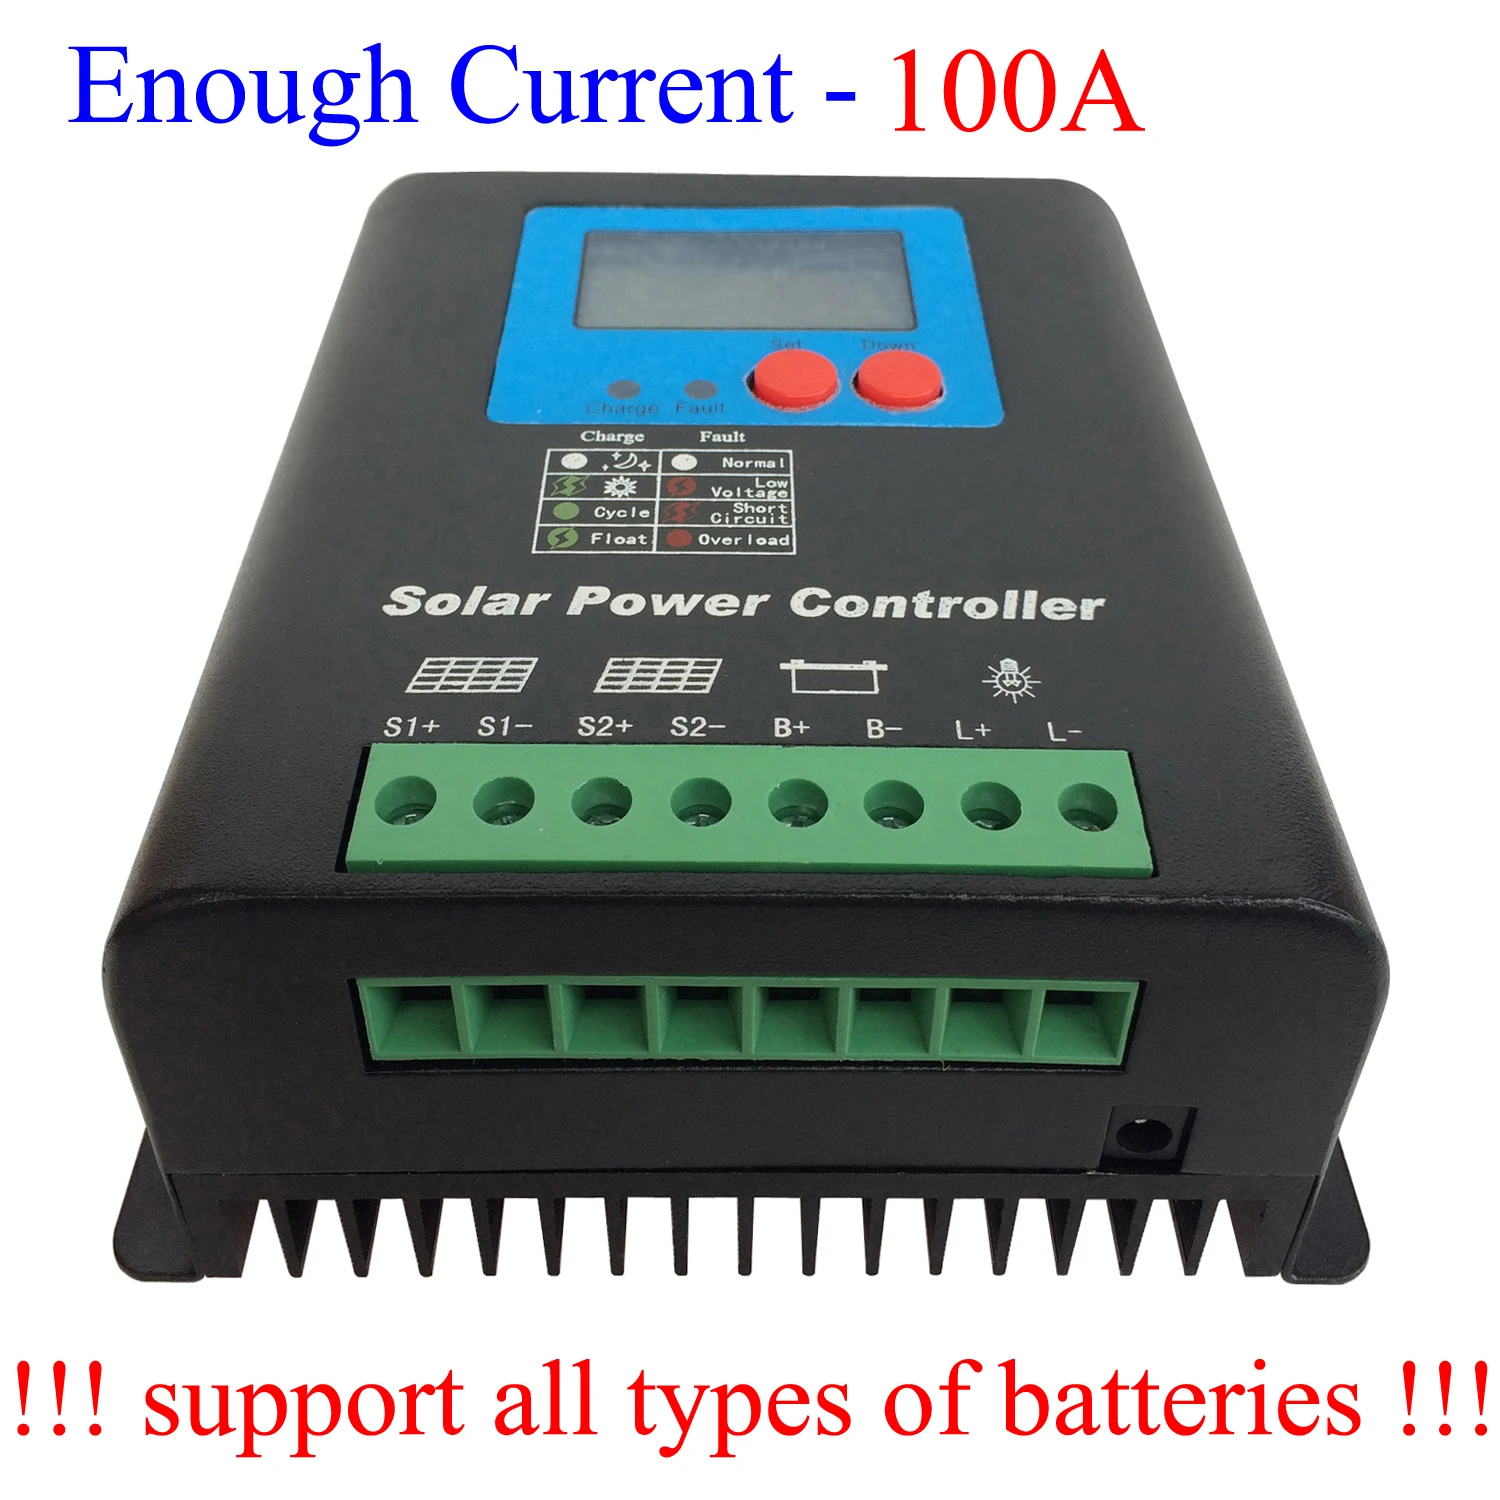
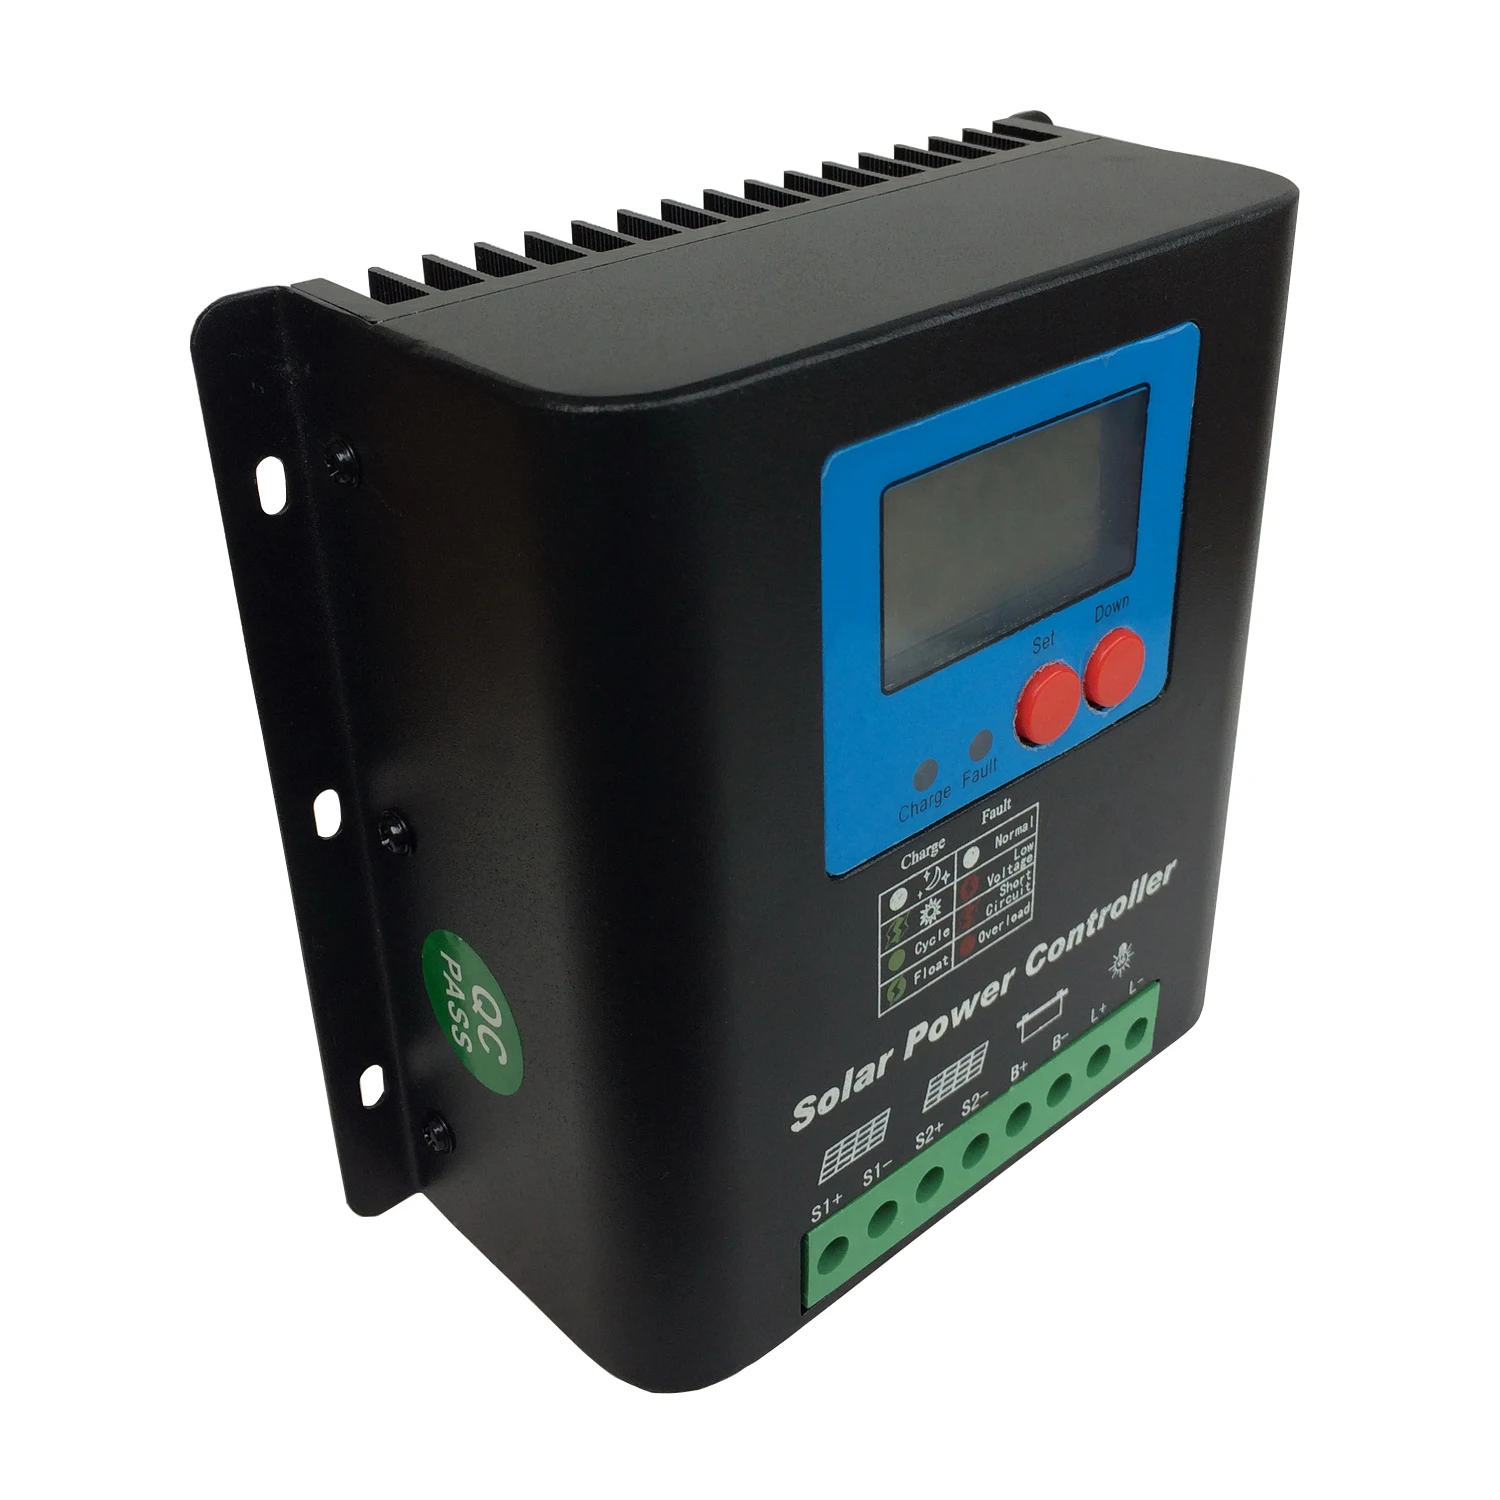
Product Overview
The controller is suitable for off-grid solar system(Independent System),can automatically control the process of charging and
discharge. The battery discharge process is optimized by the controller,which can extend the battery life and improve the system
performance. The comprehensive electronic protectioncan avoid controller damage in the installation errors and systemfailures.
Main Technical Highlights
1.Automatic identification of the system voltage 12V/24V;
2.Double MCU design with high speed and high performance;
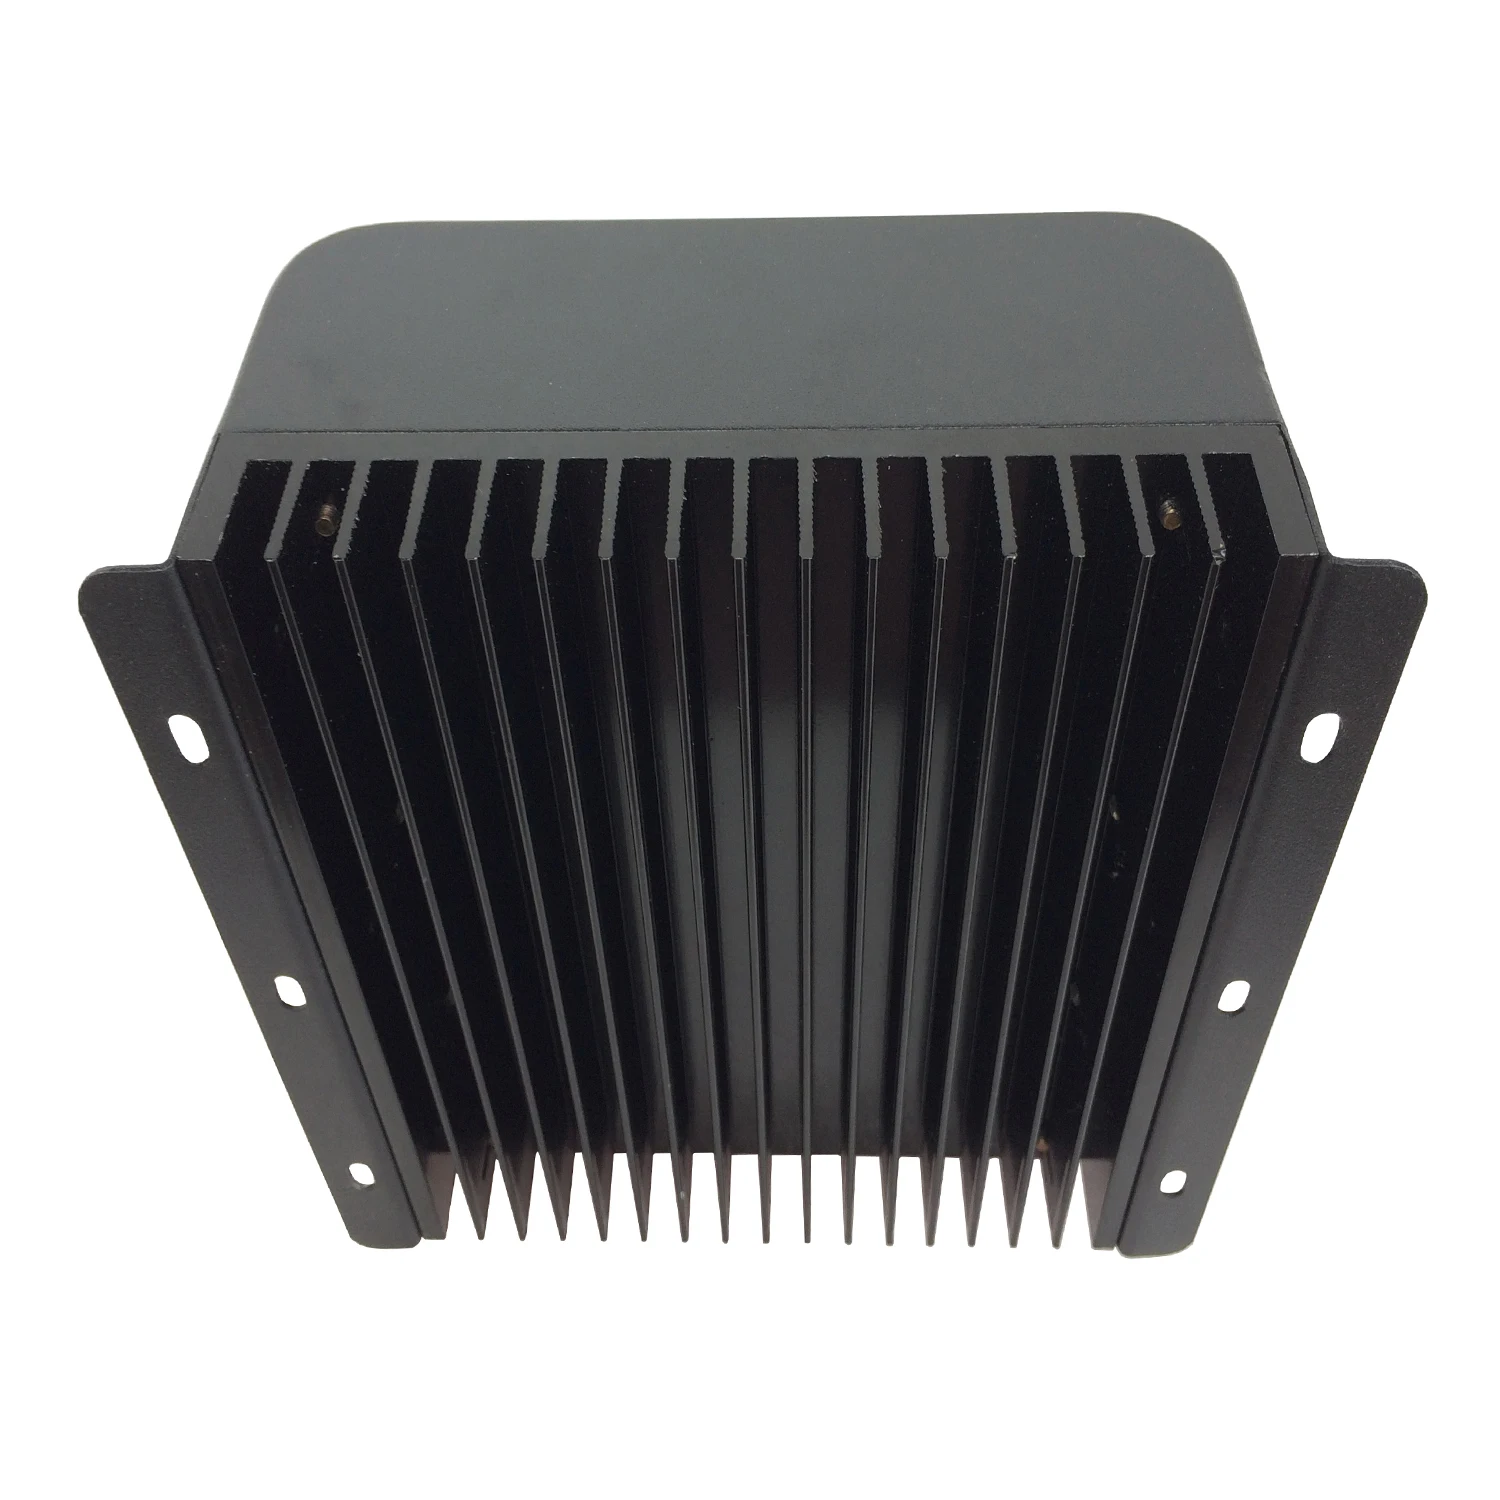
3.Excellent heat dissipation and electromagnetic compatibility design;
4.The main circuit adopts the tandem PWM Charging, the charging efficiency is 3%-6% higher than non PWM, which can increase the power time and make t he system have a longer use life;
5.Adopting the character LCD liquid crystal display and double-button interface, complete menu display and operation;
6.Humanized browse interface, which makes the operation more convenient;
7.Use the power MOSFET as switch, without any mechanical switch;
8.Intelligent battery charge indicator conveniently allows users to check the working status of the battery;
9.Sealed lead acid, optional two kinds of battery charging procedure;
10.External temperature sensor, with high-precision temperature compensation;
11.Parameter setting off-electricity protection function, not need to repeat settings, very
conveniently use;
12.With intuitive LED displays, which can let users easily understand the running state of Solar, Battery and Loads;
13.With the protections of over-charge, over-discharge, over-load, electronic protection and battery reverse;
14.Against lighting protection.
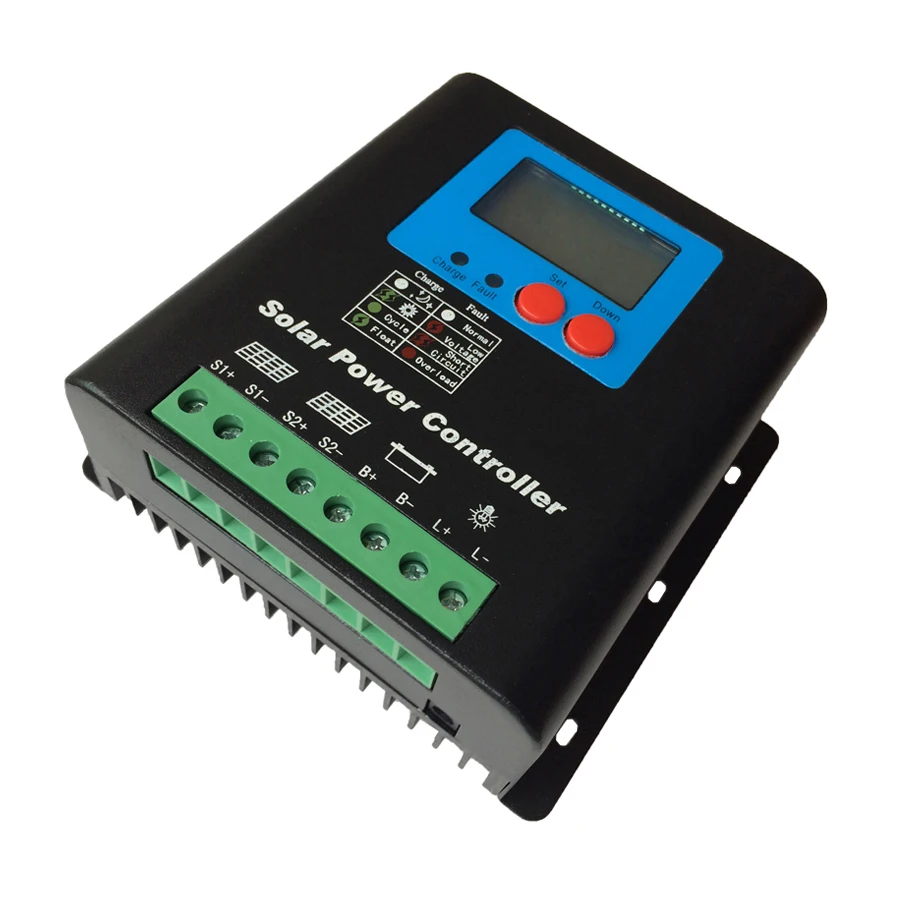
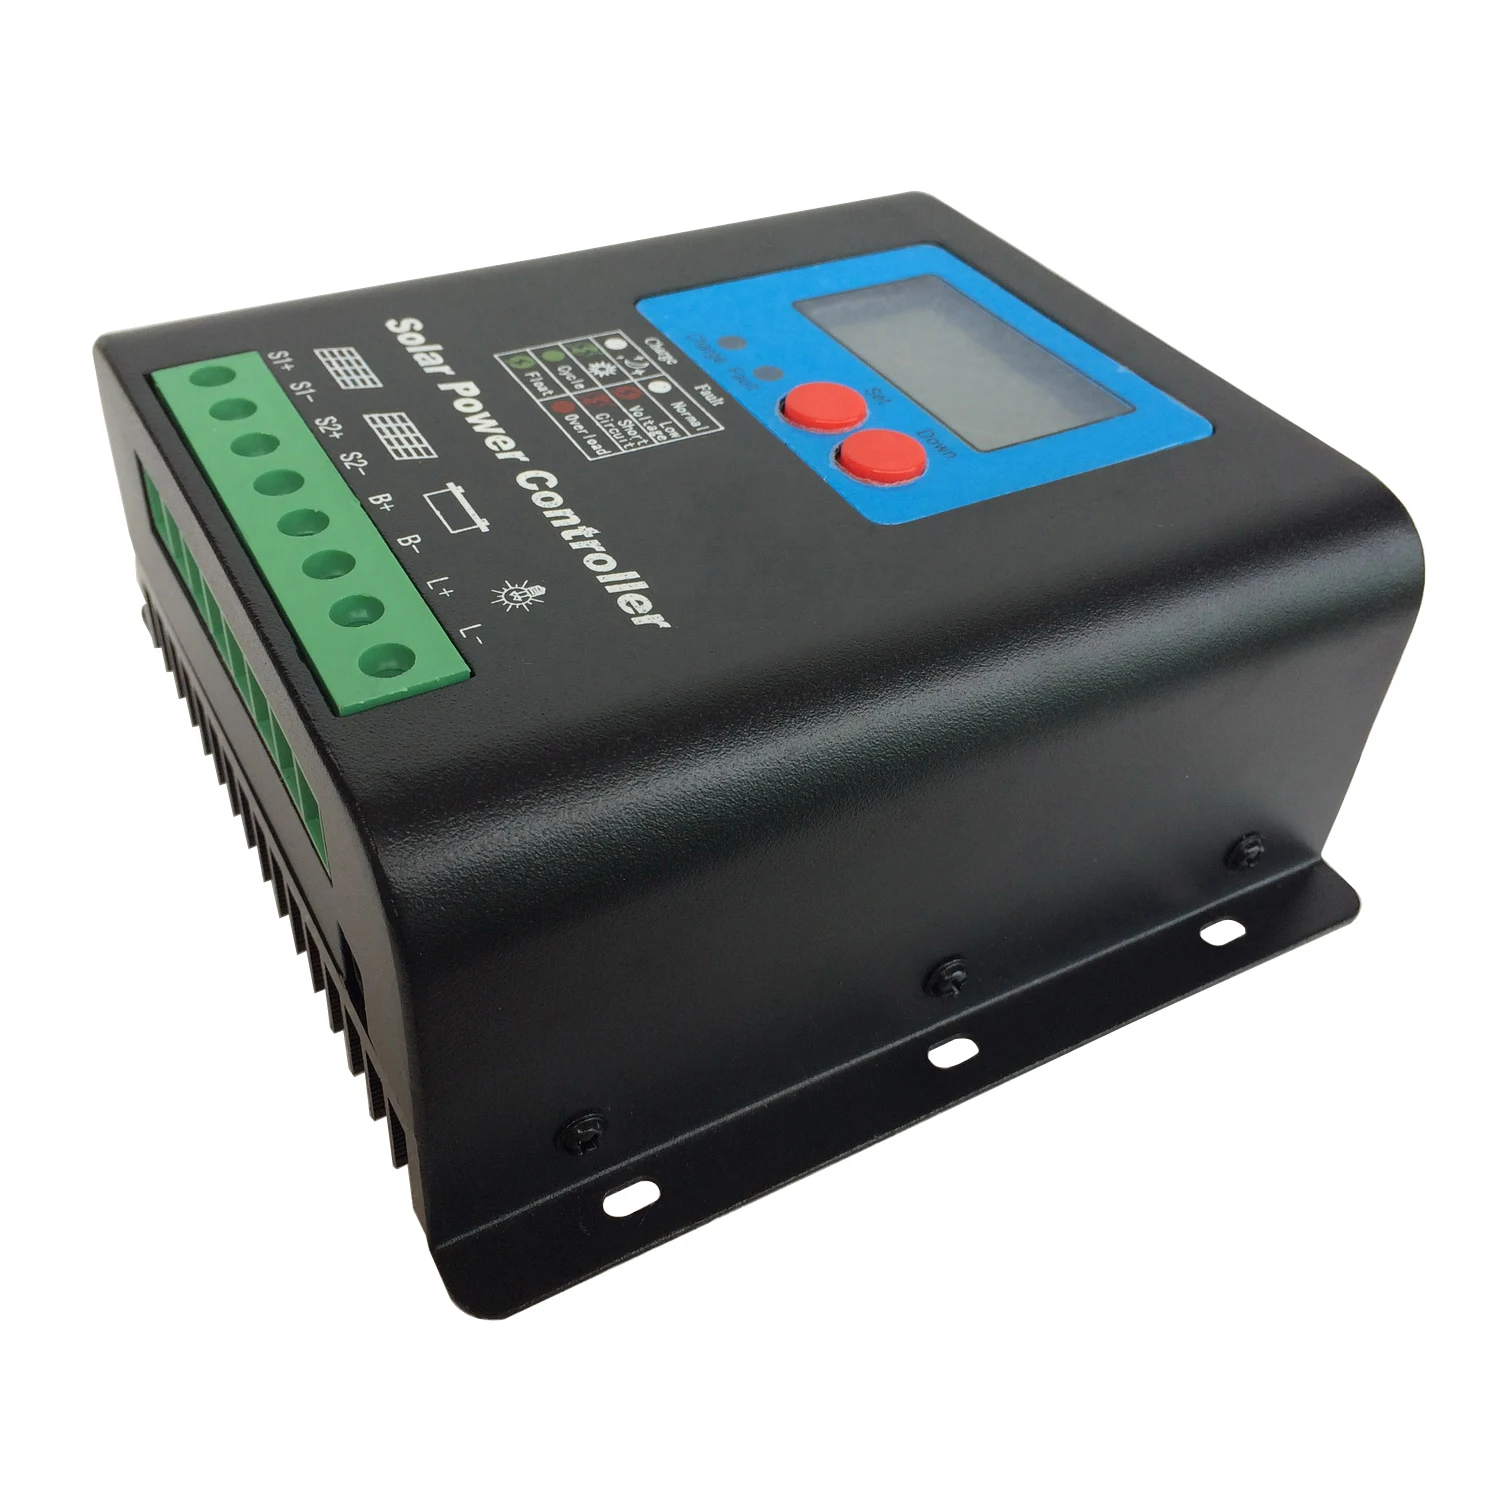
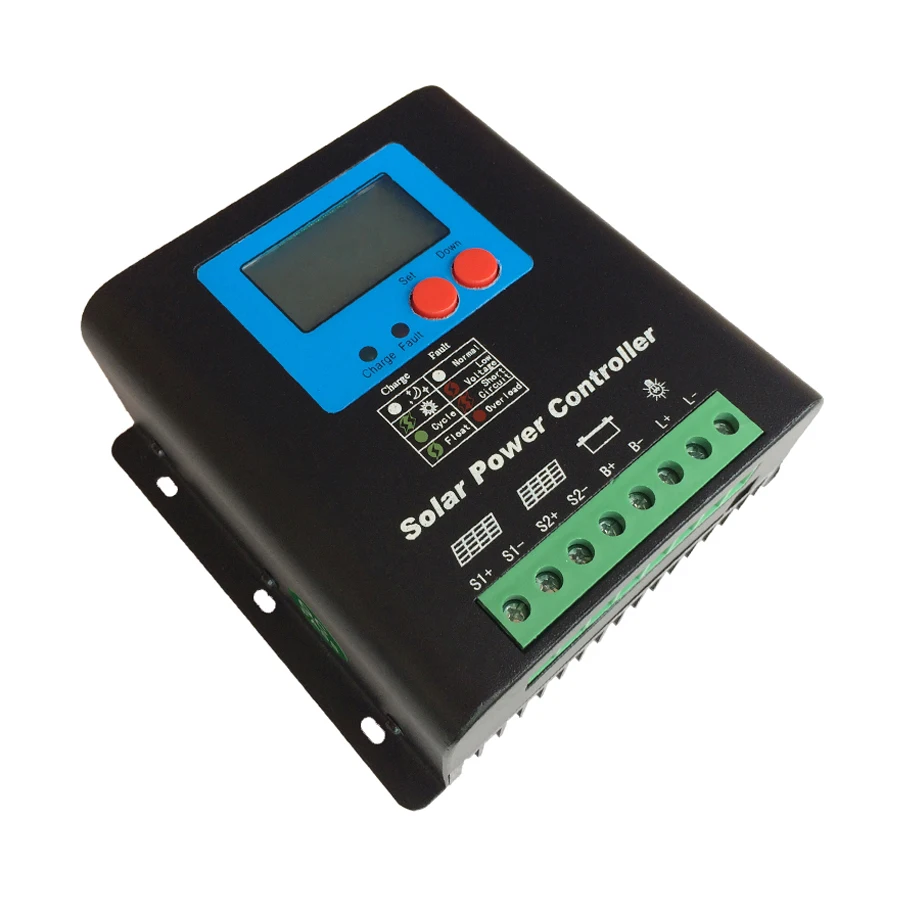
System Connection Display


Installation Instructions
1.Strongly and securely install the controller;
2.The preparation of the conducting wire:calculate the length of the wire ,and then figure out the installation place,make sure the length of the wire is reasonable to decrease the loss of the electricity;
3.Connect the battery first,pay attention to the anode and the cathode to avoid the inverse connection.the indicator light of the battery will work if the connection is correct,otherwise,it will not ,but the component of the controller will not be damaged;
4.Connect the wire of the solar panel, pay attention to the anode and the cathode to avoid the inverse connection.if the connection is correct,the indicator light of “CHARGE”will be on or flash 10 seconds later after laying outside under the sun,otherwise,please check the connection.make sure the solar energy panel is laid outdoors under the sunshine;
5.Connect the load at the end, pay attention to the anode and the cathode to avoid the inverse connection .if inverse connection ,the led lamp may be damaged;
6.The controller’s maximum wire diameter range: 20-2AWG(0.5mm2-33.6mm2).
Смотрите так же другие товары:


