


Новое поступление

Измеритель температуры TM902C 10 шт. TM-902C Цифровой Датчик Термометра K типа от-50 ℃ до

bargaineer guaranteed GM550 Digital IR Infrared Thermometer Non-contact Temperature Gun -50-550 All-match | Инструменты

Высокотемпературный Датчик термопары типа K для керамической печи температура
575,37 руб.

TM-902C Temperature Meter K Type LCD Digital Thermometer Thermocouple Probe 1300 L69A | Инструменты
818,21 руб.

41QF TM-902C K Type Digital LCD Thermometer -50°C to 1300°C with Thermocouple Sensor | Инструменты
763,51 руб.

1 M / 2 K E Stainless steel probe temperature controller 0-400C/ 0-600C sensor | Инструменты
190,33 - 217,68 руб.

Светодиодный микрокомпьютер переменного тока 10 А 12/24/110/220 В с контролем
Характеристики
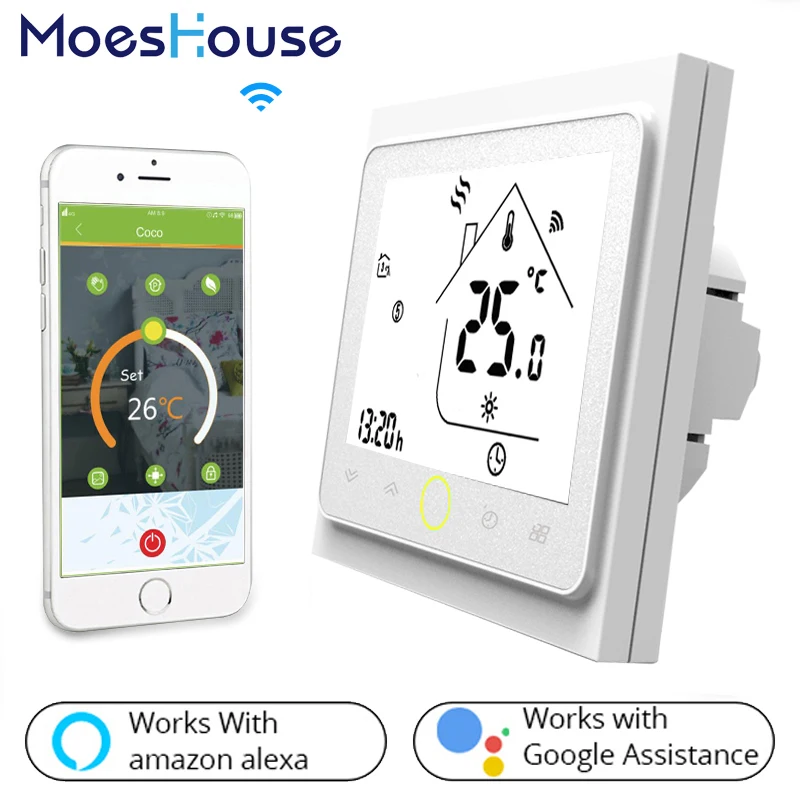
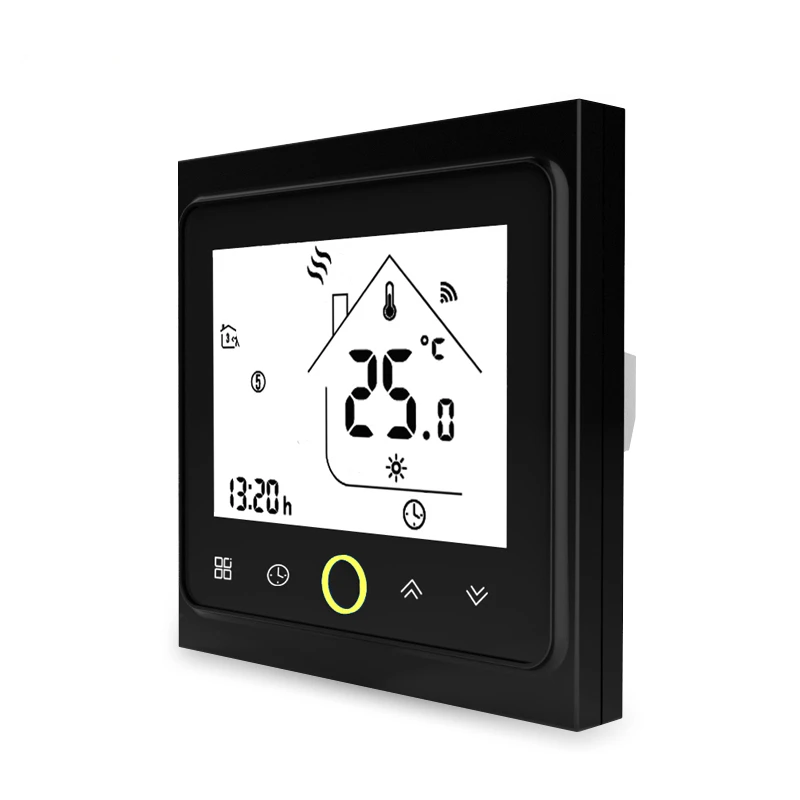
WiFi Thermostat Temperature Controller LCD Touch Screen Backlight for Electric Heating Works with Alexa Google Home 16A | Инструменты
История изменения цены
*Текущая стоимость уже могла изменится. Что бы узнать актуальную цену и проверить наличие товара, нажмите "Добавить в корзину"
| Месяц | Минимальная цена | Макс. стоимость | Цена |
|---|---|---|---|
| Mar-18-2026 | 0.65 руб. | 0.26 руб. | 0 руб. |
| Feb-18-2026 | 0.95 руб. | 0.75 руб. | 0 руб. |
| Jan-18-2026 | 0.60 руб. | 0.81 руб. | 0 руб. |
| Dec-18-2025 | 0.89 руб. | 0.21 руб. | 0 руб. |
| Nov-18-2025 | 0.69 руб. | 0.54 руб. | 0 руб. |
| Oct-18-2025 | 0.70 руб. | 0.12 руб. | 0 руб. |
| Sep-18-2025 | 0.60 руб. | 0.90 руб. | 0 руб. |
| Aug-18-2025 | 0.60 руб. | 0.79 руб. | 0 руб. |
| Jul-18-2025 | 0.35 руб. | 0.9 руб. | 0 руб. |
Описание товара


 |
 |
 |
 |
 |
 |


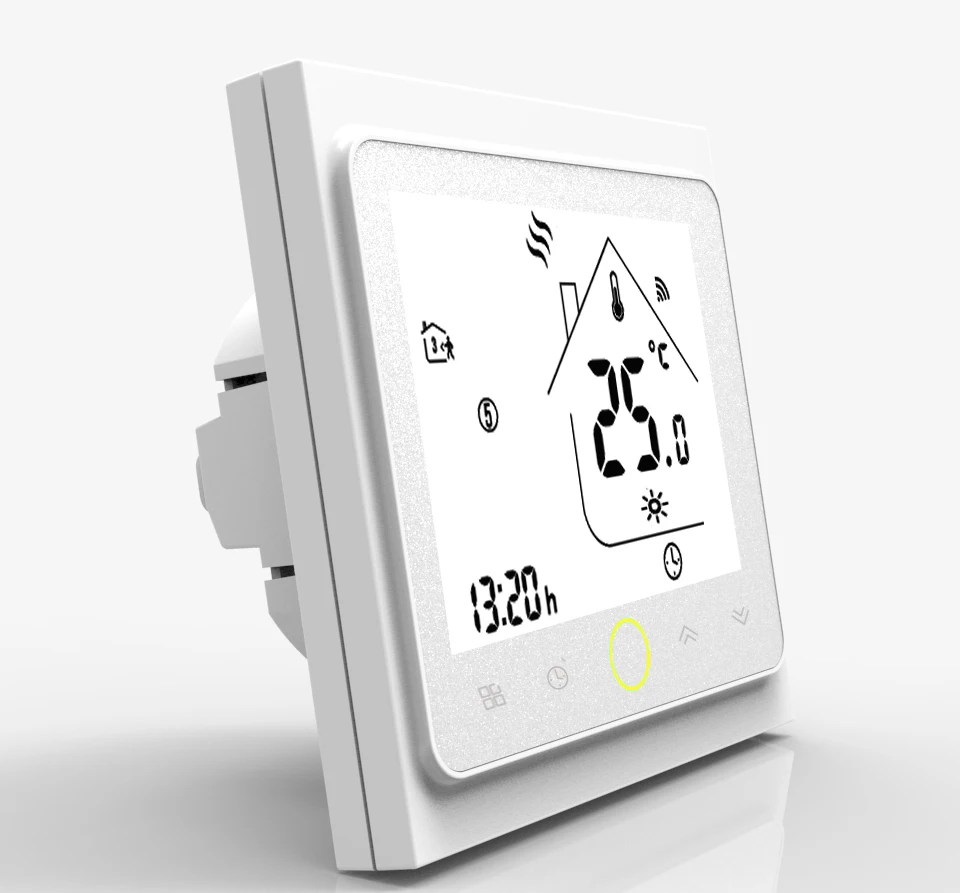
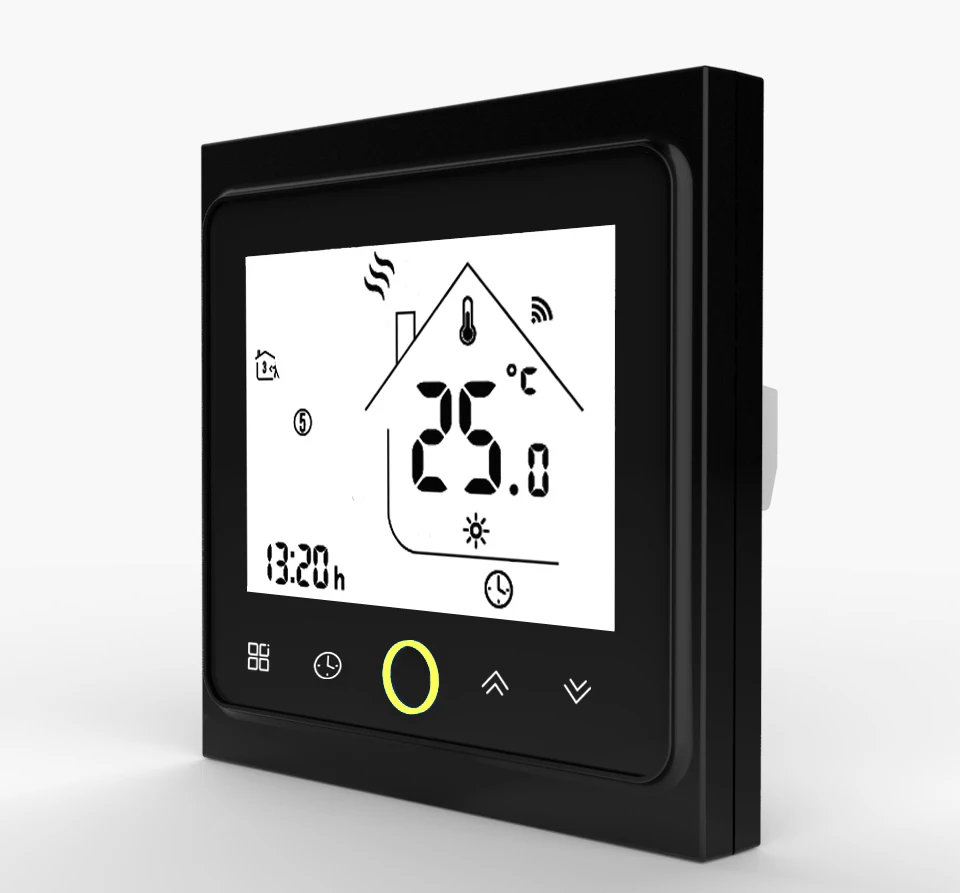
Wi-Fi Thermostat Temperature Controller LCD Touch Screen Backlight for Electric Heating Works with Alexa Google Home 16A
by Moeshouse

The manual in English:
//drive.google.com/open?id=1xt-ZfGK9-3h3uKKwX0xaEZsp8CEkTiUM


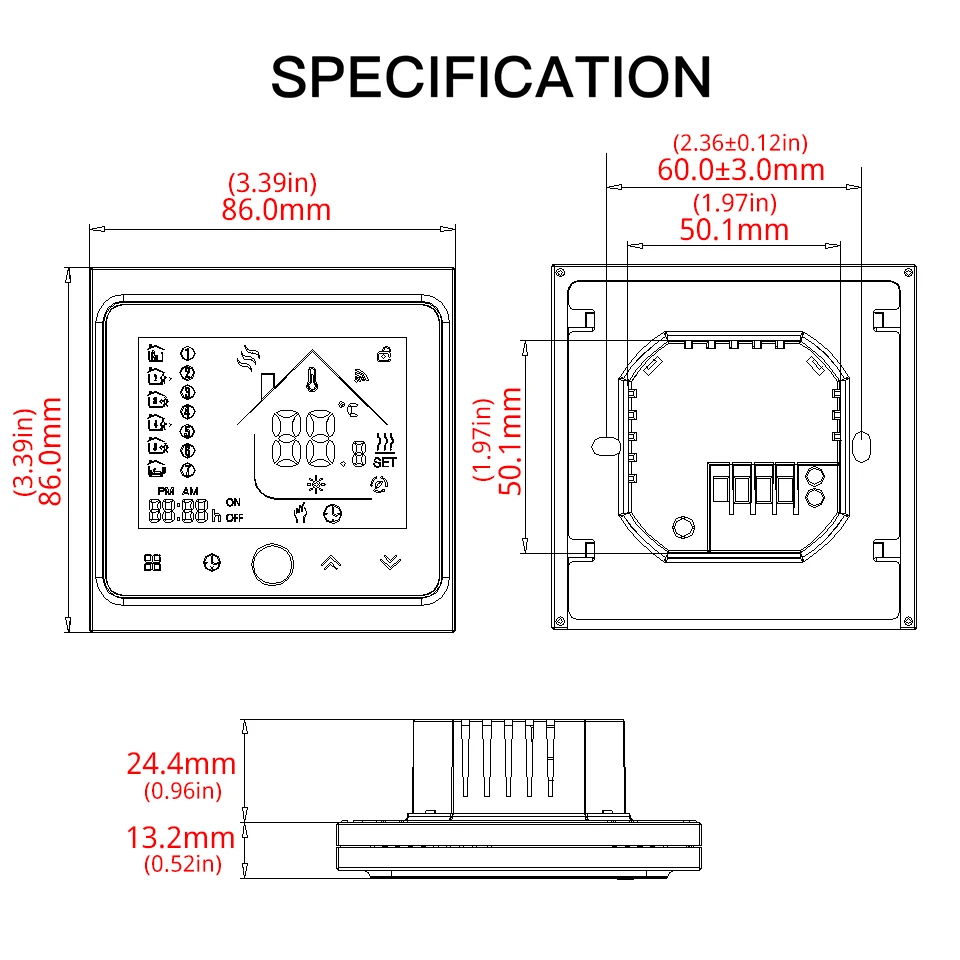
| INSTALLATION |
| Your thermostat is suitable foe installation within a standard 86mm pattress box or European 60mm pattress box |
| Step 1. Keep power off. See Fig 1 |
| Step 2. Remove the mounting Plate by rotating the LCD part. See Fig 2. |
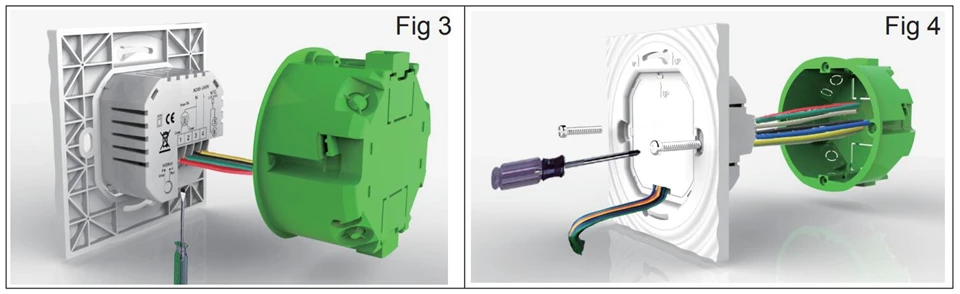
| Step 3. Connect power supply, load into the appropriate terminals. (see "Wiring your thermostat" for details and Fig 3). |
| Step 4. Fix the mounting plate into the wall with screws in the box. See Fig 4. |
| Step 5. Fasten body of the thermoatat and the mounting plate through rotating. See Fig 5. |
| Step 6. Installation complete. See Fig 6. |


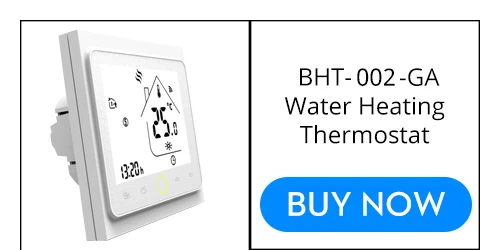
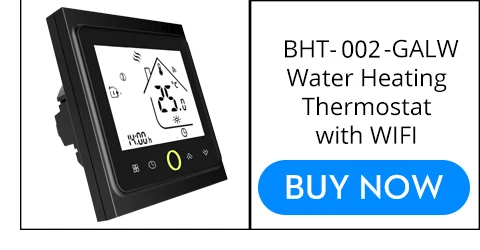
Смотрите так же другие товары: